- Published on
Building a CLI Chatbot with MCP: A Hands-On Guide to Client-Server Architecture
- Authors

- Name
- Anablock
AI Insights & Innovations
Building a CLI Chatbot with MCP: A Hands-On Guide to Client-Server Architecture
Understanding how MCP (Model Context Protocol) clients and servers work together is essential for building AI-powered applications that can interact with external tools and data sources. In this tutorial, we'll build a command-line chatbot that demonstrates both sides of the MCP architecture through a practical, hands-on project.
What We're Building
Our chatbot will create an interactive document management system accessible through a command-line interface. Users will be able to chat with Claude while the AI can read and modify documents through MCP tools.
The system consists of two main components:
- An MCP client that handles user interactions and manages communication with Claude
- A custom MCP server that provides document operation tools
The server will expose two essential tools: one for reading document contents and another for updating them. For simplicity, all documents will be stored in memory—no database required.
Important Architecture Note
In real-world projects, you typically implement either an MCP client or an MCP server, not both:
- Build an MCP server when you want to expose your service's capabilities to other developers and AI applications
- Build an MCP client when you want to connect to existing MCP servers and integrate their tools into your application
We're building both components in this project purely for educational purposes—to understand how they communicate and work together through the Model Context Protocol.
Project Setup
Prerequisites
Before starting, ensure you have:
- Python 3.8 or higher installed
- An Anthropic API key (get one here)
- A code editor (VS Code, PyCharm, etc.)
- Basic familiarity with Python and command-line interfaces
Installation Steps
-
Download and extract the project files
Download the
cli_project.zipfile attached to this lesson and extract it to your preferred development directory. -
Open the project in your code editor
Navigate to the extracted folder and open it in your preferred code editor.
-
Configure your API key
Open the
.envfile and add your Anthropic API key:ANTHROPIC_API_KEY=your_api_key_here -
Install dependencies
The project includes a comprehensive README file with setup instructions. Install dependencies using either UV (recommended) or pip:
# Using UV (recommended for faster, more reliable installs) uv sync # Or using standard pip pip install -r requirements.txt -
Verify the installation
Run the starter application to ensure everything is configured correctly:
# If using UV (recommended)
uv run main.py

# If using standard Python
python main.py
Understanding the Project Structure
Once you've extracted the project, you'll see several key files:
main.py- The entry point that orchestrates the client and servermcp_client.py- Handles communication with Claude and manages the conversation flowmcp_server.py- Implements the MCP server with document management tools.env- Stores your Anthropic API key securelyREADME.md- Comprehensive setup and usage instructions
Running the Application
-
Navigate to your project directory in the terminal
-
Start the application using one of these commands:
# If using UV (recommended) uv run main.py # If using standard Python python main.py -
Test the basic functionality
When the application starts successfully, you'll see a chat prompt. Test it by asking a simple question:
You: what's 1+1?You should get a quick response from Claude, confirming that the basic setup is working correctly.
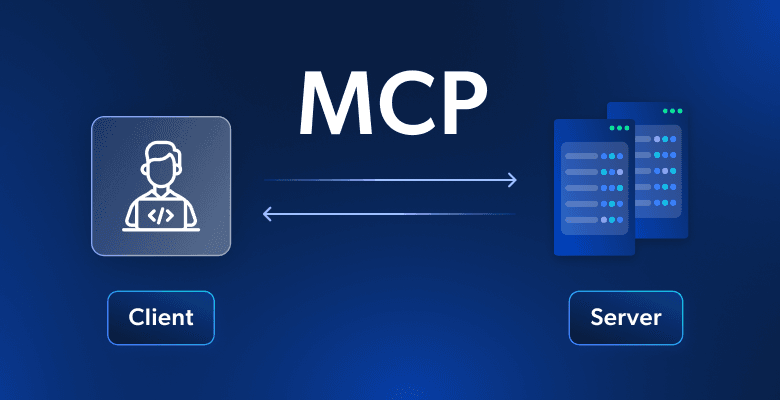
How MCP Clients and Servers Communicate
The Model Context Protocol enables structured communication between AI applications and external tools. Here's how the components interact:
The MCP Server
The server exposes tools that Claude can use. In our project, it provides:
read_document- Retrieves the contents of a specified documentupdate_document- Modifies or creates document content
These tools are registered with the MCP server and made available to any connected client.
The MCP Client
The client manages the conversation flow and coordinates between the user and Claude:
- Receives user input from the command line
- Sends messages to Claude via the Anthropic API
- Discovers available tools from the MCP server
- Executes tool calls when Claude requests them
- Returns tool results back to Claude
- Displays Claude's responses to the user
The Communication Flow
User Input → MCP Client → Claude API
                ↓
         Tool Discovery
                ↓
    MCP Server (provides tools)
                ↓
         Tool Execution
                ↓
    Results → Claude → Response → User
Next Steps: Implementing MCP Features
With the basic setup complete, you're ready to start implementing MCP features and exploring how clients and servers communicate through the Model Context Protocol.
In the next sections of this tutorial, you'll:
- Implement the document storage system in the MCP server
- Register the read and update tools with proper schemas
- Connect the client to the server and discover available tools
- Handle tool calls from Claude and return results
- Test the complete system with real document operations
Key Takeaways
- MCP separates concerns: Clients handle user interaction, servers provide tools and data
- In production, choose one side: Build either a client or a server based on your use case
- Tools are the bridge: MCP servers expose tools that AI models can discover and use
- The protocol is standardized: Any MCP client can connect to any MCP server
Troubleshooting Common Issues
API Key Not Found
- Ensure your
.envfile is in the project root directory - Check that the key is formatted correctly:
ANTHROPIC_API_KEY=sk-ant-...
Dependencies Won't Install
- Try using UV instead of pip:
uv sync - Ensure you're using Python 3.8 or higher:
python --version
Application Won't Start
- Check that all dependencies installed successfully
- Verify your API key is valid by testing it in the Anthropic Console
This hands-on project provides a solid foundation for understanding MCP architecture. By building both a client and a server, you'll gain practical experience with the protocol and be ready to implement MCP in your own AI-powered applications.
Ready to dive deeper? Continue with the implementation sections to build out the document management features and see MCP in action!