- Published on
Understanding the MCP Client: Your Gateway to AI-Powered Tool Integration
- Authors

- Name
- Anablock
AI Insights & Innovations
Understanding the MCP Client: Your Gateway to AI-Powered Tool Integration
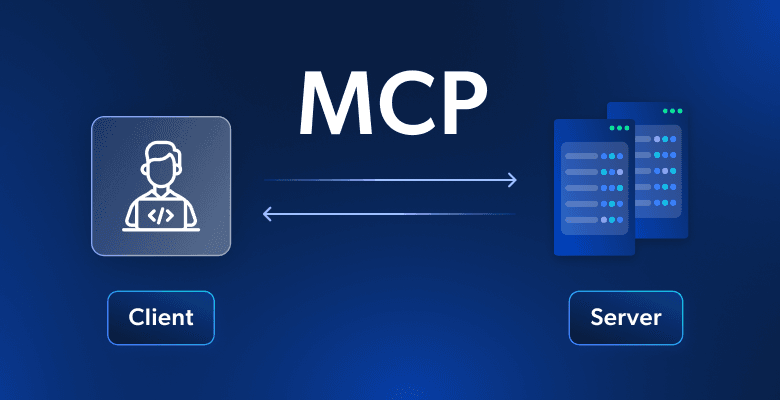
The Model Context Protocol (MCP) is revolutionizing how AI applications interact with external tools and services. At the heart of this ecosystem sits the MCP client — a critical component that acts as the communication bridge between your application and MCP servers. In this article, we'll explore how the MCP client works, why it matters, and how it orchestrates complex tool interactions behind the scenes.
What Is an MCP Client?
Think of the MCP client as your access point to all the tools that an MCP server provides. When your application needs to use external tools or services — whether that's querying a database, fetching GitHub repositories, or calling a third-party API — the client handles all the message passing and protocol details for you.
Rather than building custom integrations for every service you want to connect, the MCP client provides a standardized interface that works with any MCP-compliant server. This abstraction layer means you can focus on building your application logic while the client manages the complexity of server communication.
Transport Agnostic Communication
One of MCP's key strengths is being transport agnostic — a fancy way of saying the client and server can talk to each other using different communication methods.
Common Transport Methods
The most common setup runs both the MCP client and server on the same machine, where they communicate through standard input/output (stdio). This approach is simple, secure, and perfect for local development or single-machine deployments.
But you're not limited to that approach. MCP clients and servers can also connect over:
- HTTP — ideal for RESTful architectures and web-based integrations
- WebSockets — perfect for real-time, bidirectional communication
- Various other network protocols — giving you flexibility to choose what works best for your infrastructure
This flexibility means you can start with a simple stdio setup during development, then seamlessly transition to HTTP or WebSockets when deploying to production — all without changing your core application code.
Message Types: The Language of MCP
Once connected, the client and server exchange specific message types defined in the MCP specification. Understanding these message types is key to grasping how the protocol works.
The Main Message Types
1. ListToolsRequest / ListToolsResult
The client asks the server "what tools do you provide?" and gets back a list of available tools. This is typically the first interaction in any MCP session.
// ListToolsRequest
{
  "method": "tools/list"
}

// ListToolsResult
{
  "tools": [
    {
      "name": "get_repositories",
      "description": "Fetch GitHub repositories for a user",
      "inputSchema": { ... }
    }
  ]
}
2. CallToolRequest / CallToolResult
The client asks the server to run a specific tool with certain arguments, then receives the results. This is where the actual work happens.
// CallToolRequest
{
  "method": "tools/call",
  "params": {
    "name": "get_repositories",
    "arguments": {
      "username": "octocat"
    }
  }
}

// CallToolResult
{
  "content": [
    {
      "type": "text",
      "text": "Found 42 repositories for user octocat..."
    }
  ]
}
Complete Flow Example: From Question to Answer
Let's walk through a real-world scenario to see how all the pieces work together. Imagine a user asks: "What repositories do I have?"
Here's the complete communication flow:
Step 1: User Query Arrives
The process starts when a user submits a query to your server. Your server realizes it needs to provide Claude (or another AI model) with a list of available tools before making the request.
Step 2: Discover Available Tools
Your server asks the MCP client for tools, which sends a ListToolsRequest to the MCP server and receives a ListToolsResult back. Now your server knows exactly what capabilities are available.
Step 3: Initial AI Request
Your server has everything needed to make the initial request to Claude — both the user's question and the available tools. Claude can now understand what actions it's capable of taking.
Step 4: AI Decides to Use a Tool
Claude examines the tools and decides it needs to call get_repositories to answer the question. It responds with a tool use request, specifying which tool to call and with what parameters.
Step 5: Execute the Tool
Your server asks the MCP client to execute the tool Claude requested. The MCP client sends a CallToolRequest to the MCP server, which then makes the actual request to GitHub's API.
Step 6: Results Flow Back
GitHub returns the repository data, which flows back through the MCP server as a CallToolResult, then to the MCP client, and finally to your server. Each layer adds value — the MCP server might format the data, handle errors, or apply rate limiting.
Step 7: AI Processes Results
Your server sends the tool results back to Claude in a follow-up message. Claude now has all the information it needs to formulate a complete, natural language response.
Step 8: Final Response
Finally, Claude responds with the formatted answer: "You have 42 repositories, including your most popular project 'awesome-ai' with 1.2k stars..." Your server passes this back to the user.
Why So Many Steps?
Yes, this flow involves many steps, but each component has a clear responsibility:
- Your server orchestrates the conversation and manages application state
- The MCP client abstracts away server communication complexity
- The MCP server provides secure, standardized access to external tools
- The AI model decides which tools to use and interprets results
- External services (like GitHub) provide the actual data
This separation of concerns makes the system:
- Maintainable — each component can be updated independently
- Secure — the MCP server controls access and validates requests
- Scalable — you can add new tools without changing your core logic
- Testable — each layer can be tested in isolation
The Power of Abstraction
The MCP client's greatest strength is abstraction. As a developer, you don't need to worry about:
- How to format protocol messages correctly
- Managing connection state and reconnection logic
- Handling different transport mechanisms
- Parsing and validating server responses
Instead, you get a clean, simple interface:
# Pseudocode example
tools = await mcp_client.list_tools()
result = await mcp_client.call_tool("get_repositories", {"username": "octocat"})
Behind this simple API, the client handles all the complexity of the MCP protocol, letting you focus on building features that matter to your users.
Getting Started with MCP
Ready to build your own MCP-powered application? Here's what you need to know:
- Choose your transport — Start with stdio for simplicity, graduate to HTTP/WebSockets for production
- Implement the client — Use an existing SDK or build your own following the MCP specification
- Connect to servers — Point your client at MCP servers that provide the tools you need
- Integrate with AI — Pass tool lists to your AI model and execute the tools it requests
The MCP ecosystem is growing rapidly, with new servers and tools being added every day. By building on this standardized protocol, you're future-proofing your application and joining a community of developers pushing the boundaries of AI-powered software.
Conclusion
The MCP client is more than just a communication layer — it's the foundation of a new paradigm in AI application development. By providing a standardized, transport-agnostic way to connect AI models with external tools, MCP enables developers to build more capable, more integrated, and more powerful AI applications.
As you implement your own MCP client and server, you'll see how each piece fits together in practice. The initial complexity pays dividends in flexibility, maintainability, and the ability to rapidly add new capabilities to your AI-powered applications.
The future of AI isn't just smarter models — it's smarter integration. And the MCP client is your gateway to that future.
Ready to dive deeper? Explore the official MCP specification and join the community building the next generation of AI-powered tools.